Your collection page is a mess: one photo is portrait, the next is square, the third has a grey studio wall behind it, and the whole grid jogs sideways as you scroll. Somewhere in the same catalogue is a 34 MB camera JPEG that Shopify refused to accept at all.
Both problems come from the same gap, nobody decided once, in advance, what a product photo for this store looks like. Below are the limits Shopify actually enforces, and the prep routine that makes a hundred products look like they were shot in a single afternoon.
The limits Shopify enforces
| Spec | Value |
|---|---|
| Maximum file size | 20 MB |
| Maximum resolution | 20 megapixels (see the conflict below) |
| Stated product/collection ceiling | 5000 x 5000 px, or 25 megapixels |
| Recommended square size | 2048 x 2048 px |
| Accepted upload formats | PNG, JPEG, PSD, TIFF, BMP, GIF, SVG, HEIC, WebP |
| Alt text | 512 characters max, 125 or fewer recommended |
Liquid image_url max width/height |
5760 px |
Shopify's product media page says your product and collection images "can be any size up to 5000 x 5000 px, or 25 megapixels" and must be smaller than 20 MB, and that "for square product images, a size of 2048 x 2048 px usually displays best" (Product media types). The uploading-images page states a firmer pair of caps: images "can't exceed either of the following limits: 20 megapixels, 20 megabytes" (Uploading images).
Those two numbers disagree, 5000 x 5000 px is exactly 25 megapixels, which is over the 20 MP cap. Work to 20 MP and the conflict never touches you. Shopify gives the arithmetic for checking: (pixel width x pixel height) / 1,000,000.
The 20 MB ceiling applies to images uploaded through the Files area too, alongside a 1 GB limit for video (Uploading and managing files).
Why 2048 x 2048 px rather than the maximum
2048 x 2048 px is 4,194,304 pixels, 4.2 megapixels, comfortably under both caps, and it lands well under 20 MB as a quality-80 JPEG.
It is also more than your storefront displays. A main product image on a wide desktop layout typically occupies somewhere between 600 and 800 CSS pixels. On a 2x-density screen that is 1200 to 1600 device pixels. A 2048 px master covers that with headroom left over.
Going bigger has a real cost. A 4000 x 4000 px master is 16 megapixels, legal, but roughly four times the pixel data for an image that will be downscaled before anyone sees it.
The zoom question
Shopify's help documentation does not publish a numeric threshold at which product zoom "turns on", that behaviour belongs to your theme, not the platform. What is not theme-dependent is the arithmetic, and the arithmetic is what decides whether zoom shows anything.
Zoom can only reveal detail the file already contains. If the theme renders your image across 800 CSS pixels on a 2x screen, the browser is already showing 1600 real pixels of it. A 2048 px master gives 2048 / 1600 = 1.28x of genuine magnification beyond that; past that point you are enlarging pixels, not revealing weave or grain.
So: 2048 px square is the sensible default for most catalogues, and 3000 to 4000 px square is worth it for jewellery, fabric, watch dials, and anything else where a customer will lean in. There is no point going beyond 5760 px in any dimension, because that is the maximum width or height the image_url Liquid filter will generate (image_url filter).
What Shopify does to your file after upload
You upload one master. Shopify's CDN generates everything else.
Images are automatically optimised for the storefront through the Shopify CDN, which "automatically determines the best possible file format to use when delivering your images", so a browser that supports WebP or AVIF receives WebP or AVIF, and GIFs are converted to animated WebP to cut file size (Uploading images). Colour profiles are stripped on delivery, which is the practical reason to convert to sRGB before you upload: an Adobe RGB export will shift colour once the profile is gone.
Themes request the sizes they need with the image_url filter, which takes width and height (up to 5760 px each), a crop value of top, center, bottom, left, right or region, a format of pjpg or jpg, and a quality from 10 to 90 (image_url filter).
Two consequences. First, do not upload three sizes of the same photo, the CDN already does that. Second, your job is to hand over one clean, correctly cropped, sRGB master, because every derivative inherits its framing and its flaws.
The prep workflow
1. Lock the camera down before the first shot
Shopify's own photography guide is blunt about consistency: keep the camera and tripod in the same position throughout the shoot. It also recommends a pure white background, ISO 100, the highest f-stop your light allows, no flash, and optical rather than digital zoom, since digital zoom "simply crops your image and reduces quality" (Taking product photographs).
Consistency here is free. Consistency recovered afterwards in an editor is not.
2. Choose one aspect ratio and apply it to everything
Shopify's advice for collection pages is to use a consistent aspect ratio across all images so they display uniformly. Pick one and write it down:
- 1:1 (2048 x 2048 px), the default for most catalogues.
- 4:5 (1638 x 2048 px), apparel and anything tall; matches how most feeds crop portrait.
- 3:2 (2048 x 1365 px), furniture, landscape-shaped goods.
Mixing ratios is what produces the ragged grid. One ratio, no exceptions, including the lifestyle shots.
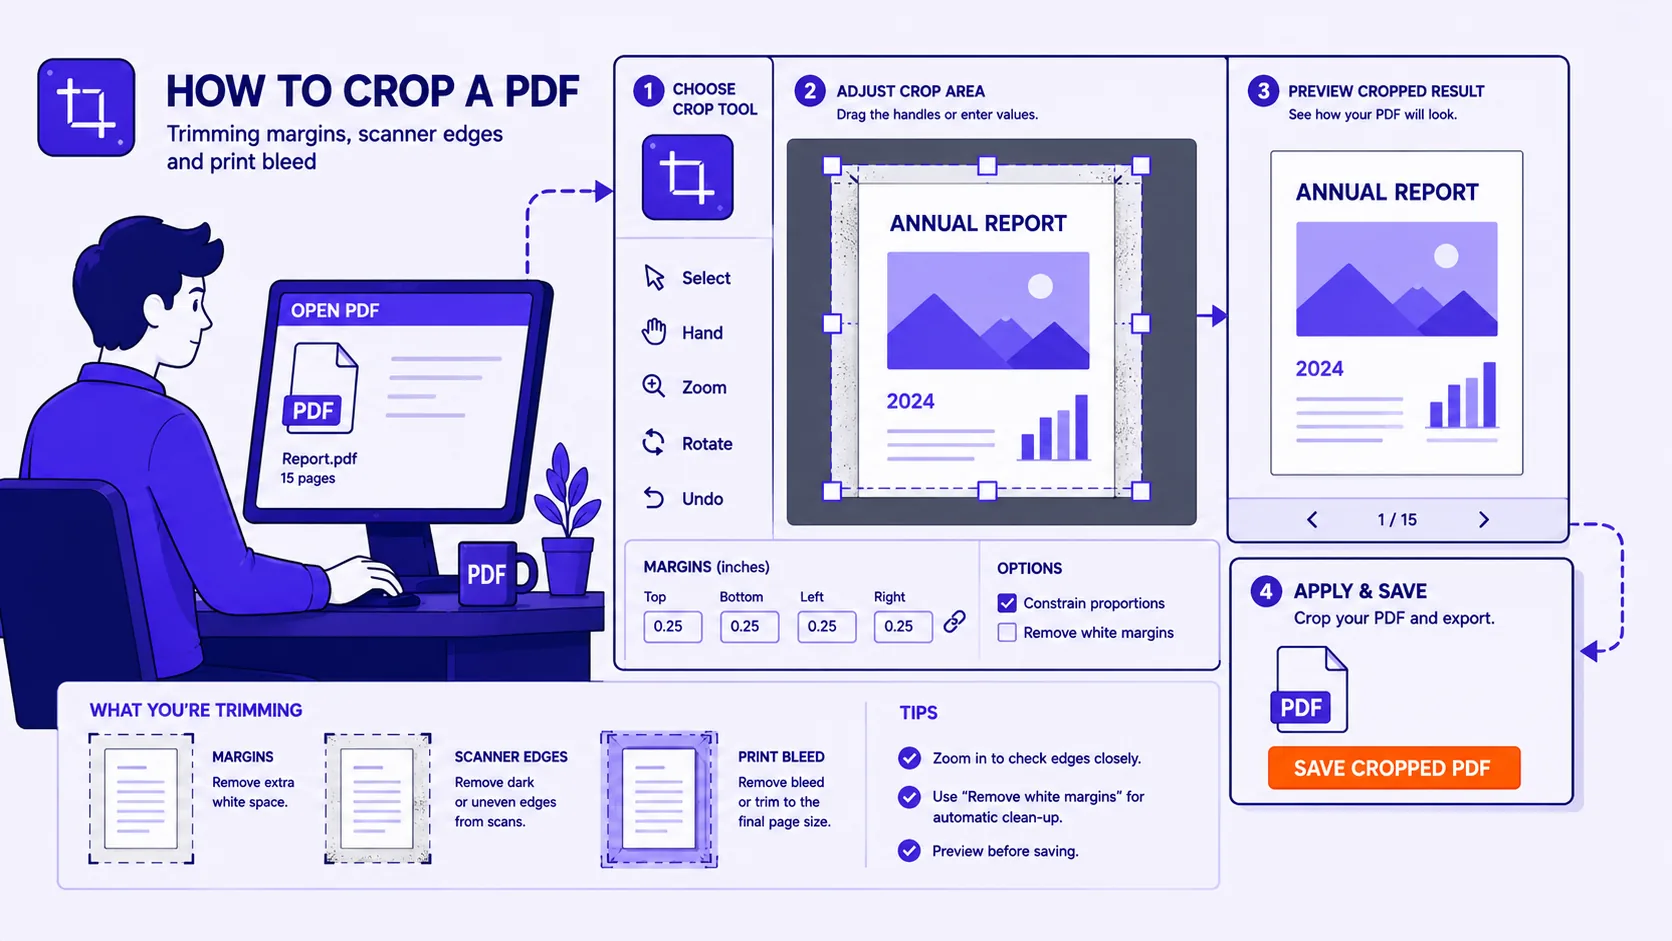
3. Crop to the ratio, with a fixed margin
Crop every product to the chosen ratio and give the subject the same share of the frame each time, say, the product filling about 85% of the frame height with even space top and bottom. A catalogue where every item sits at a different scale reads as amateur even when each individual photo is good.
Shopify's built-in media editor will crop to Freeform, Original or Square and resize with a lock-aspect-ratio toggle (Using the media editor), which is fine for a one-off fix but slow across a whole catalogue.
4. Fix the background
If half your shots have a grey wall and half have a white sweep, cut the background out rather than trying to match them by eye. A background remover gets you to a transparent PNG, which you then flatten onto the same white, or the same brand colour, for every product.
Save the flattened version as JPEG. Transparent PNGs of photographic subjects are several times larger than the JPEG equivalent, and there is nothing behind them on a white product page anyway.
5. Resize to a single master dimension
Batch every crop to the exact same pixel dimensions, 2048 x 2048 px, or whatever your chosen ratio works out to. An image resizer handles this in one pass; the point is that all files leave at identical dimensions, so the CDN's derivatives are identical too.
6. Compress, but not twice
Shopify's photography guide suggests final images "no larger than 200 KB, with lower numbers being better," while warning against over-compressing into blotchiness. A quality-80 JPEG at 2048 px square usually lands near that.
Remember that Shopify compresses again on delivery. Crushing the file first means stacking two lossy passes, and flat white backgrounds are where the resulting blocking shows up first.
7. Name files before you upload
Google's guidance is that filenames should be "short, but descriptive", my-new-black-kitten.jpg beats IMG00023.JPG (Google Images SEO). In Shopify the filename becomes the file's URL handle, and changing it later breaks the old URL.
Shopify also blocks a specific set of endings. An image filename must not end with pico, icon, thumb, testing, small, compact, medium, large, or grande, because the CDN reads those as image transformation requests, and you should avoid underscores before dimensions, product-image-5x4.jpeg, not product_image_5x4.jpeg (Uploading and managing files).
A workable pattern: brand-product-colour-angle.jpg, as in acme-wool-scarf-charcoal-front.jpg.
8. Write alt text at upload time
Alt text has a maximum length of 512 characters, but Shopify recommends 125 or fewer and says to keep it "brief and descriptive" (Adding alt text to media). Describe what is in the frame, "charcoal wool scarf, folded, front view", rather than restating the product title on every one of its eight images.
Pre-upload checklist
- sRGB, not Adobe RGB.
- One aspect ratio across the whole catalogue.
- 2048 px on the long edge (3000 to 4000 px for texture-heavy goods).
- Under 20 megapixels and under 20 MB, always.
- JPEG, quality around 80, roughly 200 KB.
- Filename descriptive, hyphenated, not ending in a reserved size word.
- Alt text written, under 125 characters.