You photograph a signed two-page agreement on the kitchen table, email it, and get a reply asking you to send it again properly. One side of the page is grey, the top-left corner is missing, the text tilts a few degrees, and it arrived as two separate JPEGs rather than one document.
A modern phone camera is easily good enough to produce something indistinguishable from a flatbed scan. Almost everything that goes wrong happens before you press the shutter, and the rest happens at the moment you turn the images into a PDF.
Set the page up before you touch the camera
The physical setup determines everything downstream. Fix it here and the processing takes thirty seconds; get it wrong and no amount of filtering rescues the file.
- Use diffuse, indirect light. A window with daylight coming across the page is the best light source most people own. The ceiling light directly overhead is the worst, because you and your phone stand between it and the page, which puts your own shadow across the text.
- Work on a flat, hard surface. A table, not a bed, not your lap. Any curve in the paper becomes a bent line of text.
- Put something contrasting underneath. This is the single most common cause of a bad crop: a white page on a white table gives automatic edge detection nothing to detect, so it guesses, and it guesses badly. A dark placemat, a closed laptop lid, a sheet of black card, a wooden worktop, anything that isn't the colour of the paper. Google Drive's scanner draws "a blue line" around the page it has found so you can see whether detection worked before you capture (Google Drive Help).
- Hold the phone parallel to the page. Stand over the page, centre it, and keep the back of the phone flat relative to the tabletop. Shooting from an angle produces keystone distortion, the far edge of the page comes out narrower than the near edge, and the text size changes down the page. Software can correct some of it, but correction always costs sharpness at the stretched end.
- Turn the flash off. On any coated or glossy paper the flash puts a specular hotspot in the middle of the frame, and on matte paper its falloff makes one corner brighter than the rest. The only time flash helps is a very dim room with no alternative, and even then, bounce room light onto the page instead if you can.
Folded, stapled and bound originals
Folded documents need flattening first, not compensating for later. Reverse-fold along each crease, then leave the sheet under a heavy book for ten minutes. If it still lifts, weigh down two opposite corners with objects placed outside the page area so they don't end up inside the crop.
Stapled sets should be unstapled. Photographing a stapled bundle means every page after the first sits on an uneven stack and picks up a shadow along the bound edge. Remove the staple, shoot the pages individually, restaple afterwards if you need the paper original.
For a bound book, photograph one page at a time rather than the two-page spread. Open the book as flat as it will go, hold the facing page down, and position the phone over the centre of the single page you are capturing so it is parallel to that page rather than to the book as a whole. Crop the gutter shadow away entirely, it is not part of the page, and leaving it in makes the automatic contrast adjustment darken the whole scan to compensate.
How much resolution you actually need
The US National Archives specifies, for scanned textual records, bitonal at 300–600 ppi, greyscale at 300–400 ppi, and colour at 300–400 ppi, describing these as minimum requirements (National Archives). Those figures are a useful floor for anything you want to remain legible and reusable.
A 12-megapixel camera shooting 4:3 gives you about 4032 × 3024 pixels (4032 × 3024 ≈ 12.2 million). An A4 page is 297 mm on the long edge, or 11.69 inches. So the ppi you end up with depends entirely on how much of the frame the page fills:
| Share of frame filled by the page | Pixels along the page's long edge | Effective ppi on A4 |
|---|---|---|
| 100% | 4032 | 345 |
| 80% | 3226 | 276 |
| 60% | 2419 | 207 |
The practical conclusion: filling the frame matters far more than how many megapixels your phone has. Move closer until the page nearly touches the frame edges, leaving a small margin for the crop. Step closer physically rather than using digital zoom, which just discards pixels. Use the main 1x lens, the ultra-wide introduces barrel distortion that bows the page edges outward and makes perspective correction harder.
Built-in scanner, or native camera plus a manual crop
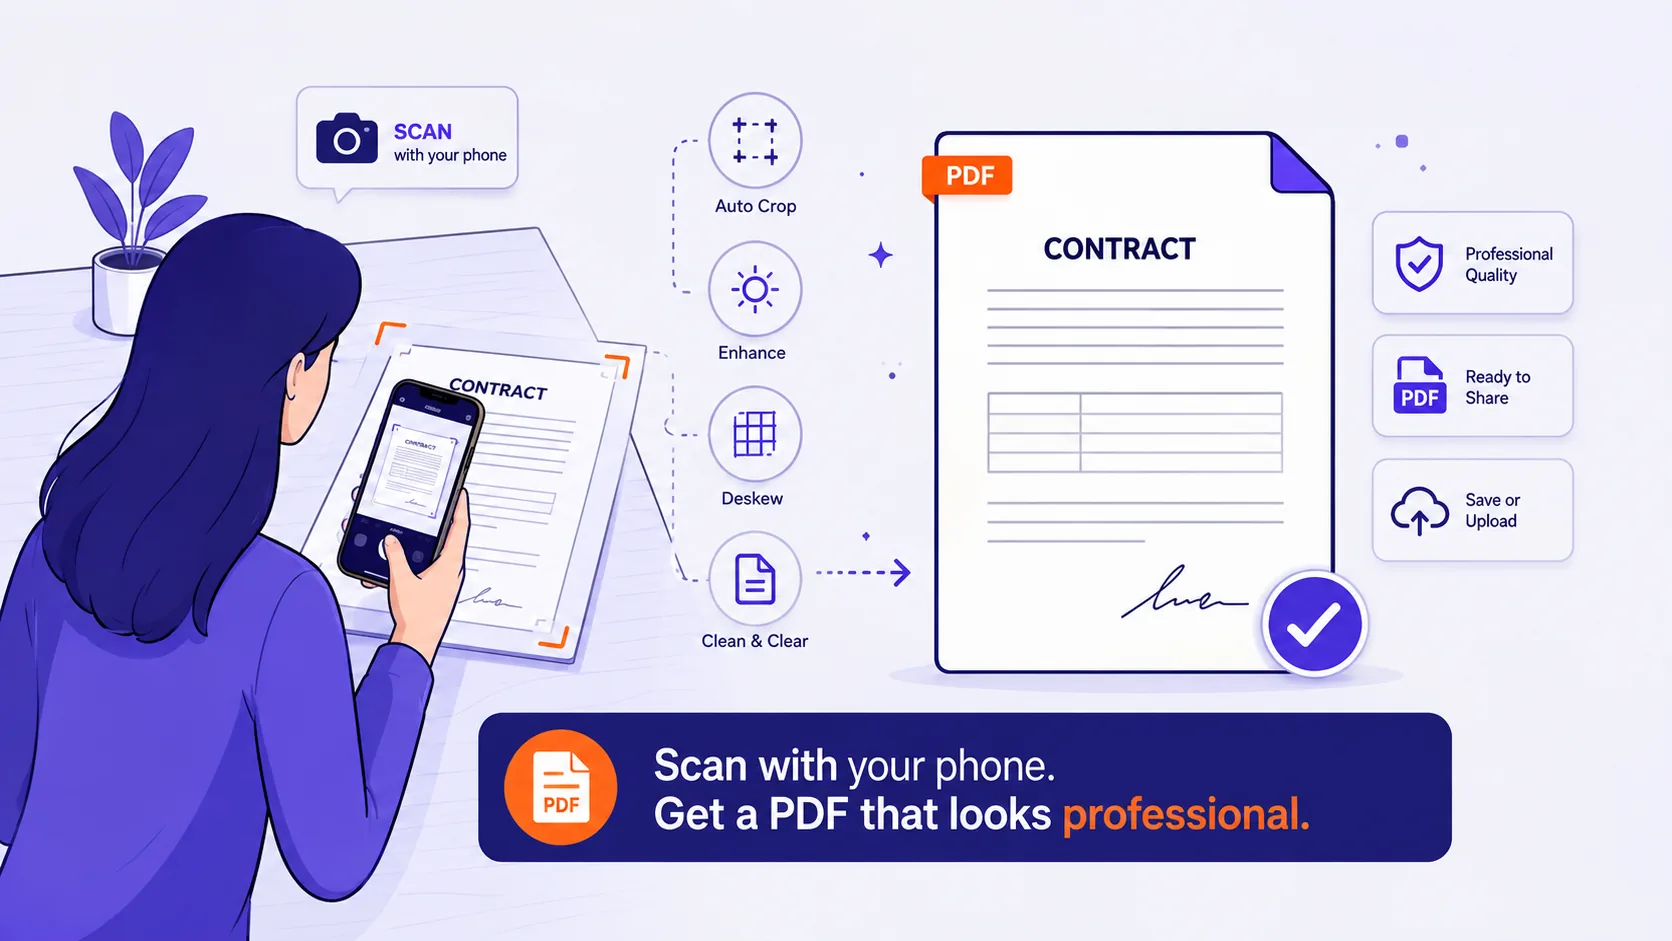
Both phone platforms have a document scanner built in, and when the setup is good they work well.
| Platform | Path | Result |
|---|---|---|
| iPhone, Notes | Attachment button → Scan Documents → auto-capture, or tap the shutter or a volume button for manual → drag the corners → Keep Scan → Done | Scan attached to the note |
| iPhone, Files | More button → Scan Documents → Keep Scan → Done → choose a location → Save | File saved where you choose |
| Android, Google Drive | Camera button (bottom right) → capture → Crop & Rotate, Filter, Clean → Add for further pages → Done → name it → choose PDF or JPG → Save | One PDF (or JPG) |
Apple's instructions cover both the Notes and Files routes, and note that in iOS 26 the scanner also exposes flash and image filter options in the capture screen (Apple Support). Drive can also be triggered from a "Drive scan" home screen widget, and saves scans as searchable PDFs (Google Drive Help).
When auto-detection struggles, a low-contrast background you can't change, a curled book page, a form with a pale border, switch to the ordinary camera app and crop by hand. A native photo gives you one predictable, full-resolution frame with no automatic contrast decisions baked in, and a manual crop with four corner handles beats a confident-but-wrong automatic one every time.
Correct each page before it becomes a PDF
- Fix perspective and skew. Drag the four corner handles to the real page corners. If there is a straighten slider, use the baselines of the text as your reference: a tilt above roughly one degree is visible to anyone reading it.
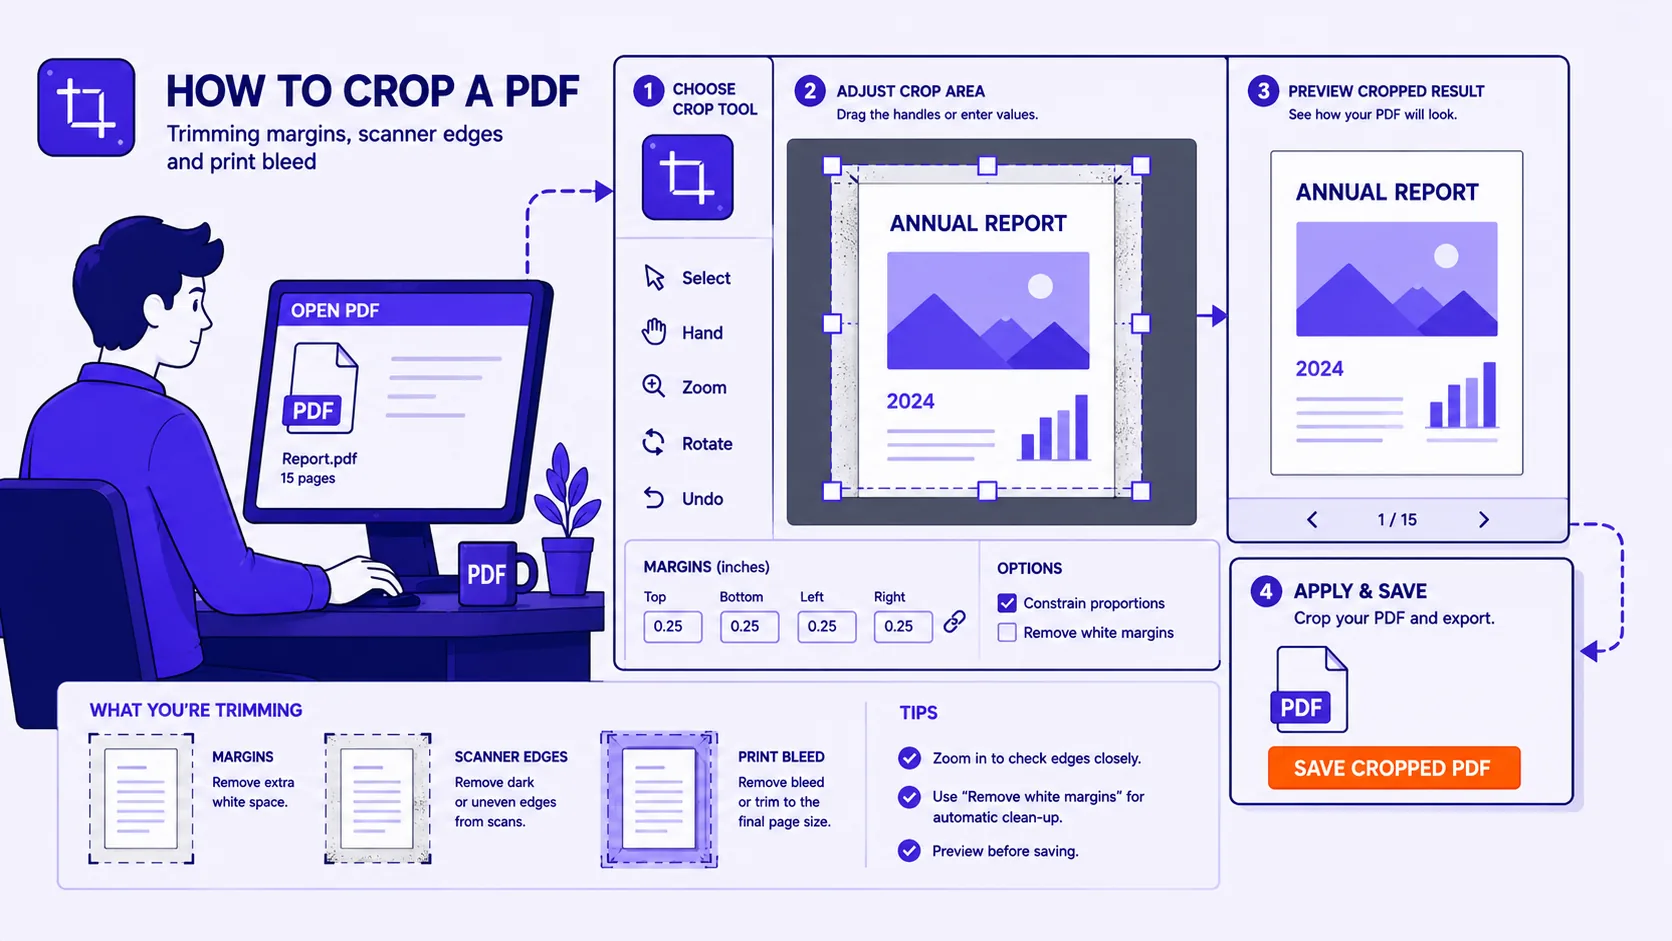
- Crop to the page edge. Nothing outside the paper, no tabletop, no thumb, no keyboard. Crop consistently across all pages so they end up the same shape.
- Convert text-only pages to greyscale or black-and-white. Colour on a page of black text is three channels of sensor noise, and it inflates the file badly; the size mechanics are covered in why is my PDF so large. Greyscale is the safe default. Reserve pure bitonal for clean, high-contrast print, because a black-and-white threshold will erase pencil annotations, faint carbon copy and grey rubber stamps. Check before you commit.
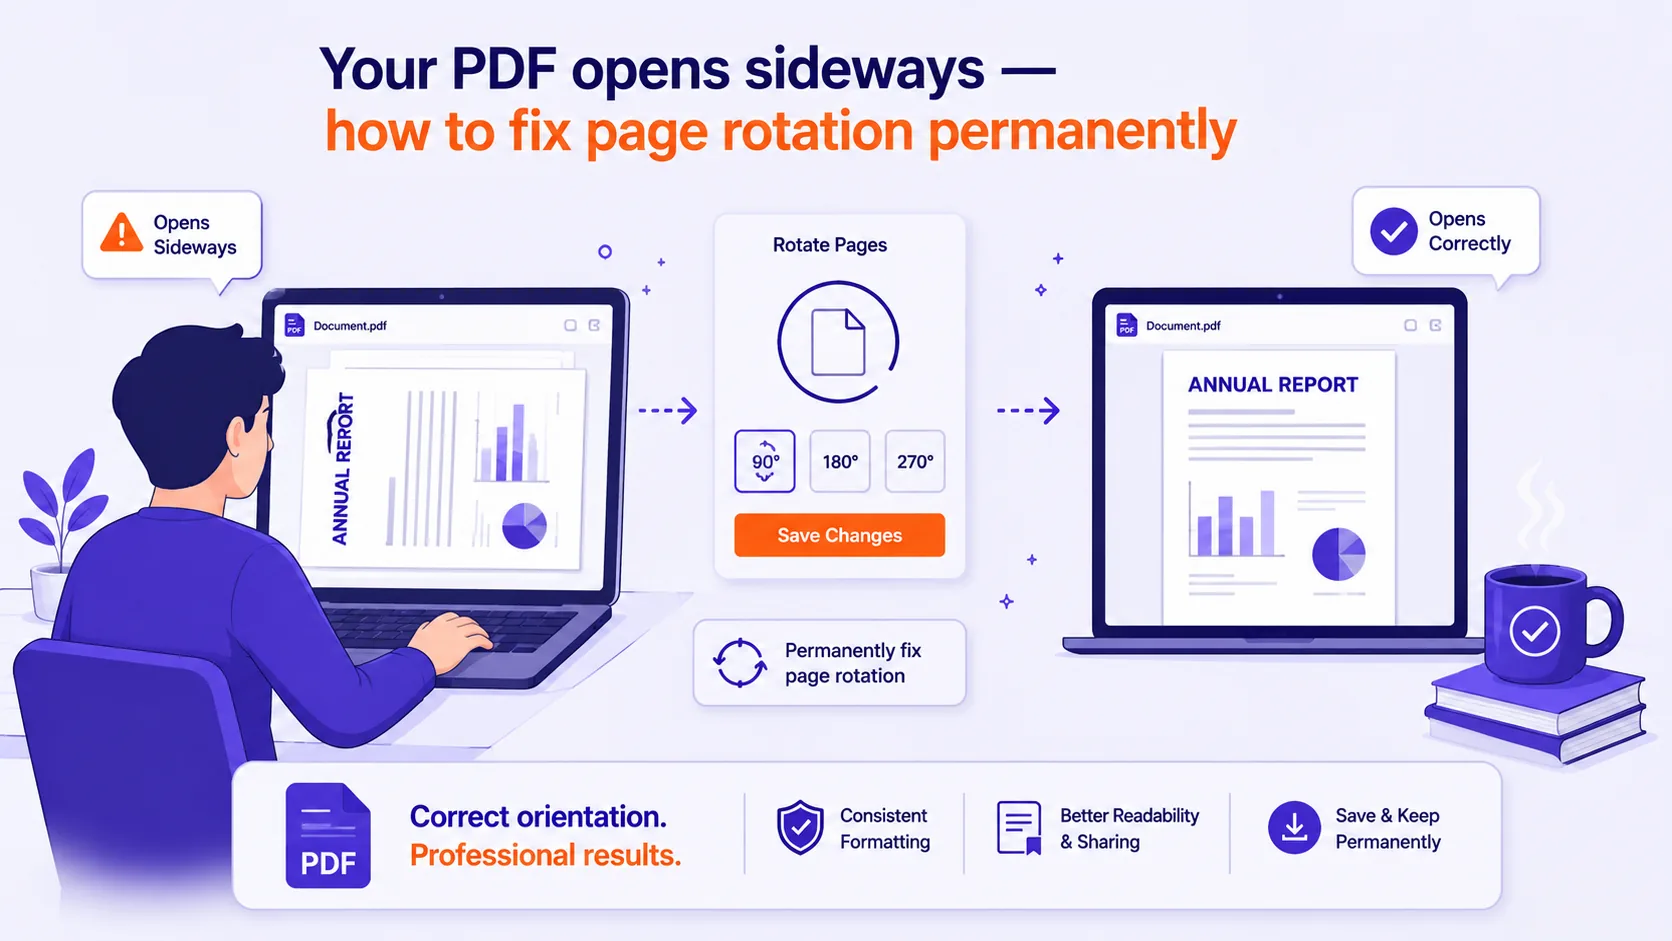
- Rotate every page upright at this stage, not after assembly.
Name the files so the order is deterministic
Sorting is lexicographic, not numeric, which is why a folder of scans routinely assembles itself in the wrong order. Zero-pad the numbers.
| Naming scheme | How it sorts |
|---|---|
page1.jpg, page2.jpg, page10.jpg |
page1, page10, page2 |
page-01.jpg, page-02.jpg, page-10.jpg |
page-01, page-02, page-10 |
Capture in reading order and keep it that way. If you rescan page 4, overwrite page-04.jpg rather than appending a new file at the end of the sequence.
Assemble one PDF at one page size
This is the step people skip, and it is why a scan arrives as fourteen loose JPEGs, or as a PDF where every page is a slightly different size because each crop was slightly different.
Drop the numbered images into JPG to PDF, confirm the order matches your file numbering, and set a single page size, A4 or Letter, for the whole document, with images fitted to the page. That normalises small crop differences into one consistent document that prints and paginates properly. Because the conversion runs in your browser rather than on a server, contracts, ID documents and medical paperwork never leave your machine.
Keep orientation consistent too. One landscape page in a portrait document is legitimate if the original is landscape, and jarring if it is just a page you forgot to rotate.
Check before you send
- All four corners of every page are inside the crop.
- No shadow crossing the text, and no flash hotspot.
- The smallest print on the page is legible at 100% zoom, not just at fit-to-window.
- Text baselines are horizontal.
- Pages are in order, none missing, none duplicated.
- Every page is the right way up.
- Every page is the same size and orientation.
- The filename says what the document is, dated:
2026-08-23-tenancy-agreement-signed.pdf.